Fiber Cement Board Wall Finishing Bali Joint Treatment Sealants
Fiber Cement Board Wall Finishing in Bali: Joint Treatment & Sealants That Last
In Bali’s tropical climate—salt air, sudden rain, high humidity, and intense UV—fiber cement board walls can look perfect on handover and then crack, yellow, or leak within a season if joints and sealant detailing are not executed to standard. The core question we tackle here: how do we finish fiber cement board walls so joints stay flat, clean, and weather-tight, and sealants remain elastic and adhered despite daily movement and moisture? As a finishing contractor for Bali villa construction and renovation Bali, Teville details a proven, standards-driven method focused on joint treatment and sealants for durable, professional results.
Technical Deep Dive: Why Joint Treatment and Sealants Fail (and How We Prevent It)
Movement and Moisture: The Physics Behind Cracks
Fiber cement boards are dimensionally stable compared to timber or gypsum, but they still move with thermal changes, hygrometric cycling, and substrate deflection. In Bali, boards expand during humid nights, contract under midday sun, and are bombarded by wind-driven rain and salt aerosol. Rigid fillers crack because they cannot accommodate this movement. Success depends on a dual strategy: reinforced cementitious joints where rigidity is needed (board-to-board plane) and elastomeric sealant joints where movement is expected (perimeters, dissimilar materials, expansion breaks).
Correct Joint Build-Up: Thinset + Alkali-Resistant Mesh
The most reliable joint reinforcement on cement boards uses polymer-modified thinset mortar combined with alkali-resistant fiberglass mesh tape made for cement boards—not gypsum paper tape, not lightweight “mud.” The thinset (ANSI A118.4 or A118.15 class) bonds to the cement matrix and holds mesh without softening under moisture. The mesh spreads stress and resists alkali attack. This is critical for exterior or semi-exposed locations like open living rooms, terraces, and wet zones typical in interior finishing Bali.
Where to Use Sealants (and Which Chemistry)
Sealants belong wherever differential movement is likely: board perimeters, control/expansion joints, changes of plane, around windows and doors, MEP penetrations, and transitions to concrete, plaster, stone, or timber. In Bali’s UV and salt environment, we specify exterior-grade, high-performance elastomeric sealants: neutral-cure silicone (non-staining), silyl-terminated polyether (MS polymer), or UV-stable polyurethane rated to ASTM C920/ISO 11600. For painted facades, MS polymer often offers ideal paintability and dirt resistance; neutral-cure silicones excel in pure exposure and wet zones.
Joint Geometry Matters
Design the joint to move: use a closed-cell backer rod to control depth, prevent three-sided adhesion, and maintain a width-to-depth ratio near 2:1 (e.g., 10 mm wide x 5 mm deep). Too-deep sealant tears; too-shallow debonds. Tool the bead with firm pressure to wet the flanks. Perimeter “shadow gaps” of 6–10 mm around built-ins and furniture installation points allow clean lines while preserving movement capacity.
Surface Condition and Priming
Cement boards are porous. Dust, salt film, and efflorescence sabotage adhesion. We dry-brush, vacuum, and solvent-wipe where compatible. On exposed edges, a penetrating primer compatible with both the thinset and topcoat reduces suction and improves bond. Many high-grade sealants require primer on cementitious flanks—follow the sealant manufacturer’s data sheet for porous substrates.
Moisture Control and Curing Windows
Rain events and dew in Bali can leave microfilms of water invisible to the eye. We measure surface moisture and temperature, schedule works for mid-morning to early afternoon, and protect fresh joints from sudden showers. Thinset must set and cure adequately before sanding or coating; sealants require skin time and full cure before painting or cleaning. Rushing these windows is a common reason for early failure.
Integration With Coatings and Skim Coats
After leveling and mesh-reinforced thinset, we use a compatible skim (cement-polymer) to achieve a paint-ready plane. For exteriors, we prefer breathable, high-solids acrylic or elastomeric systems with primers specified for cementitious substrates. Sealant beads should be masked and tooled cleanly before painting; many silicones are not paintable—select chemistry accordingly or keep clean edges via masking.
Coordination With Renovation and Utilities
During renovation Bali, penetrations for villa utilities (plumbing, electrical, AC linesets) must be planned before joint finishing. We overcut penetrations slightly, install backer rod where possible, and seal elastomerically. Around cabinets and millwork, we complete all joint reinforcement and first coats, then scribe furniture installation to leave a controlled movement gap sealed with a paintable elastomer to avoid hairline cracking at interfaces.
Materials & Standards We Apply
We source and install materials tested for cement boards and the tropics, aligned with construction standards Bali and international benchmarks.
- Fiber cement boards: Flat sheets compliant with ASTM C1186 or EN 12467.
- Fasteners: Corrosion-resistant (stainless or coated) screws with proper head profile; countersunk and spot-primed.
- Joint reinforcement: Alkali-resistant fiberglass mesh tape (≥ 50 mm wide) designed for cement boards.
- Mortar (thinset): Polymer-modified per ANSI A118.4/A118.11/A118.15; exterior-capable, water-resistant.
- Skim/leveling: Cement-polymer skim compatible with thinset and topcoat.
- Sealants: Elastomeric, ASTM C920 or ISO 11600 classified; neutral-cure silicone, MS polymer, or UV-stable polyurethane; primers as required.
- Backer rod: Closed-cell polyethylene sized 25–50% wider than joint.
- Primers & paints: Acrylic masonry primer; exterior elastomeric acrylic for facades; high-quality interior acrylics for living spaces.
- Waterproofing (wet zones): Liquid-applied membranes (ANSI A118.10) at showers/balconies before board finish where specified.
We follow manufacturer data sheets, international standards, and local best practices. Detailing is coordinated with Teville’s process controls outlined in How We Build, and executed by finishing specialists experienced in Bali’s climate.
Step-by-Step Process: Joint Treatment & Sealants for Fiber Cement Walls
1) Survey, Planning, and Mockups
- Confirm board type, thickness, and fastener layout; verify deflection criteria of subframing.
- Mark control joints at max 3.0–4.0 m intervals or per manufacturer; define perimeter gaps (6–10 mm).
- Create a sample panel with joint and sealant build-up for client approval (texture, sheen, color).
2) Substrate Preparation
- Check screw heads are slightly countersunk, not breaking the board skin; fill overdriven holes with thinset.
- Remove dust/salt film by vacuum and clean cloth; ensure surface is dry to touch and above dew point.
- Prime exposed cut edges with penetrating primer; pre-seal board edges if specified by the brand.
3) Reinforced Cementitious Joints
- Apply a tight skim of polymer-modified thinset over joints (~1–2 mm).
- Bed alkali-resistant fiberglass mesh tape centrally; press to eliminate bubbles.
- Immediately cover with a second thinset pass to fully embed the mesh; feather 80–120 mm each side.
- Allow to set; apply a wider feather coat if needed for level continuity; lightly rub/sand ridges when cured.
4) Control/Expansion Joints and Perimeters
- Maintain clean, straight gaps at control joints and changes of plane; install closed-cell backer rod.
- Prime joint flanks if required by sealant data sheet for porous cementitious substrates.
- Gun in elastomeric sealant (MS polymer, neutral-cure silicone, or PU), tool to concave profile with firm pressure.
5) Penetrations and Dissimilar Interfaces
- For electrical boxes, plumbing sleeves, and AC lines, enlarge openings to allow 6–8 mm annular gap; insert backer rod where feasible.
- Apply primer and sealant bead; ensure continuous contact with both materials (metal/plastic to cement).
- At window/door trims and junctions to masonry or timber, use bond-breaker tape on the third side to avoid constraint.
6) Skim and Surface Readiness
- Apply cement-polymer skim to unify texture and plane; avoid bridging over designed movement joints.
- Spot-finish screw heads and mesh areas to a flat, paint-ready surface.
- Allow full cure; verify moisture content and pH if specified by coating manufacturer.
7) Priming, Coating, and Detailing
- Mask sealant beads if they are non-paintable; otherwise test for paint compatibility.
- Prime with acrylic masonry primer; apply finish coats (interior acrylic or exterior elastomeric) per system schedule.
- Remove masking, clean edges, and inspect for pinholes, holidays, or skipped sections.
8) Handover, Maintenance, and Coordination with Interiors
- Document joint locations and sealant chemistries for future renovation Bali works.
- Before furniture installation, confirm shadow gaps and touch up after fixing to maintain clean joints.
- Provide care instructions: gentle washing, annual inspection of beads, and timely resealing where UV exposure is extreme.
For larger or complex villa scopes, we align the above with Teville’s quality checkpoints and sequencing across trades, as seen in our Villa Projects and Portfolio.
Costs & Timeline (Guidance for Bali Projects)
Costs vary with access, exposure (interior vs exterior), board condition, height/working at elevation, and the chosen coating system. As an order-of-magnitude guide for joint treatment and sealant finishing on fiber cement walls:
- Interior joints (thinset + mesh + skim + prime/paint): typically IDR per m² rates scale with area and finish class; control-joint and perimeter sealing priced per linear meter.
- Exterior façades add premium materials (UV sealants, elastomeric paints), façade access, and weather protection measures.
- Complex penetrations, window interfacing, and custom shadow gaps are itemized per detail for accuracy.
Timelines depend on cure intervals and weather windows. As a reference, a 100–150 m² wall area with standard detailing often sequences over 7–12 working days including curing and coatings, subject to dry-weather days and inspection hold points. For a project-specific breakdown aligned to construction standards Bali and your design intent, request an estimate via Teville Cost Estimation. We prioritize durability and finish quality over speed, especially in Bali’s fast-changing weather.
FAQ: Fiber Cement Joint Treatment & Sealants in Bali
1) Can I use gypsum joint compound on cement boards?
No. Gypsum mud is not alkali- or moisture-resistant and will soften, blister, or crack. Use polymer-modified thinset mortar with alkali-resistant mesh tape specifically for cement boards.
2) What sealant is best for exterior joints?
Neutral-cure silicone or MS polymer rated to ASTM C920/ISO 11600. Choose MS polymer if you plan to paint the bead; use silicone in high-UV and wet zones where paintability isn’t required.
3) How wide should control and perimeter joints be?
Typically 6–10 mm for perimeter and movement joints. Depth about half the width, controlled with backer rod to achieve a 2:1 width-to-depth ratio. Confirm against board manufacturer guidance.
4) Do I need to prime before sealant?
Often yes on porous cement surfaces. Follow the sealant manufacturer’s primer recommendations. Priming improves adhesion and reduces early-edge failure in humid, saline environments.
5) Can I paint over the sealant?
Only with paintable chemistries (e.g., MS polymer, some polyurethanes). Most silicones are not paintable. Where paint is required, specify paintable sealant or maintain crisp, masked edges.
6) What causes hairline cracks to telegraph through paint?
Using rigid fillers, skipping mesh, inadequate feathering, or coating too soon before full cure. Thermal movement and substrate deflection will reveal weak joints in weeks under Bali sun.
7) How do you handle penetrations for villa utilities?
We overcut for clearance, insert backer rod, prime flanks, and seal elastomerically. This maintains movement and prevents capillary moisture paths around pipes, conduits, and AC lines.
8) How is finishing sequenced with furniture installation?
We complete reinforced joints and first coats, install cabinetry, maintain shadow gaps (6–8 mm), and apply a paintable elastomeric bead. This prevents rigid contact that
 4344 m²16 month(s)from 290.000 USD
Radha
 1from 198.000 USD
Private: Haridas Villas
 3173 m²6 month(s)from 125.000 USD
TALA FOUR
 164 m²7 month(s)from 79.000 USD
Private: Haridas Villas, Tegallalang

Want to calculate?
 3180 m²7 month(s)from 142.000 USD
Vasudeva
 3124 m²6 month(s)from 123.000 USD
TALA 8
 172 m²8 month(s)from 120.000 USD
Keshava
 3127 m²9 month(s)from 177.000 USD
Mukunda
 3104 m²11 month(s)from 99.000 USD
TALA 100
 2144 m²11 month(s)from 104.000 USD
Narayana
164 m²7 month(s)from 79.000 USDTALA TWO
Start With Real Numbers, Not Guesses
Before finalizing your finishing works plan, check realistic cost ranges for your Bali villa project.
Available lands
 7250 m²56 min$ 235714Bali, Tabanan
 3100 m²20 min$ 272968Bali, Tabanan
 911 m²15 min$ 248217Bali, Pererenan
 1000 m²10 min$ 384852Bali, Canggu
 1000 m²10 min$ 123154Bali, Jimbaran
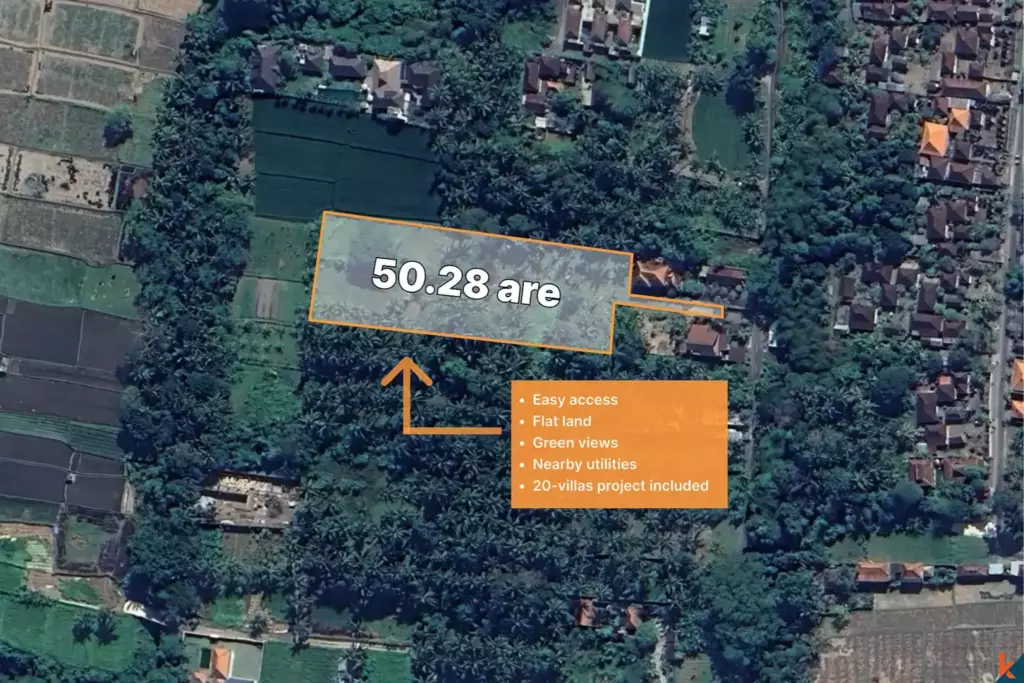 5028 m²10 min$ 361000Bali, Ubud
 5000 m²8 min$ 424877Bali, Ungasan
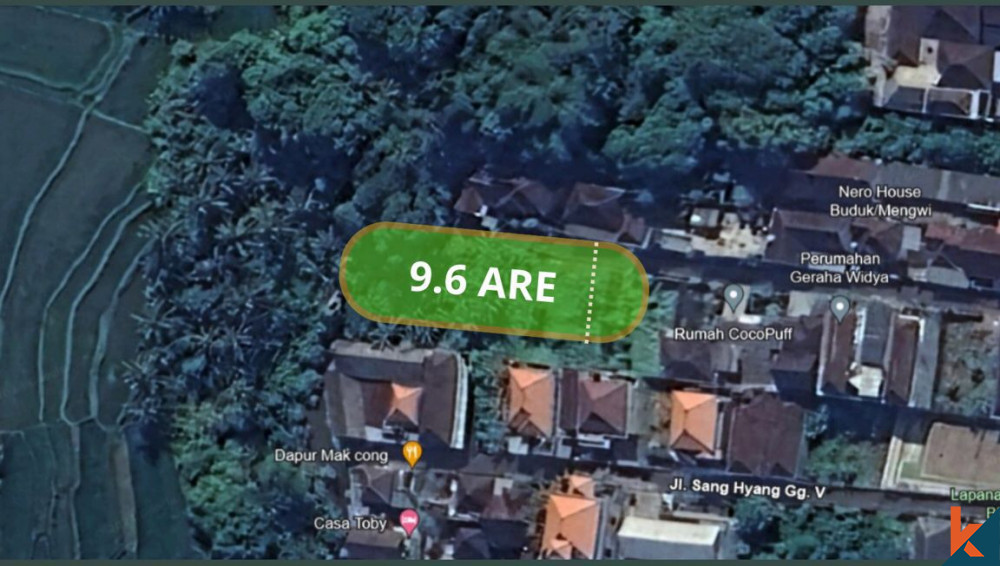 960 m²15 min$ 91034Bali, Mengwi
 2000 m²15 min$ 110837Bali, Karangasem
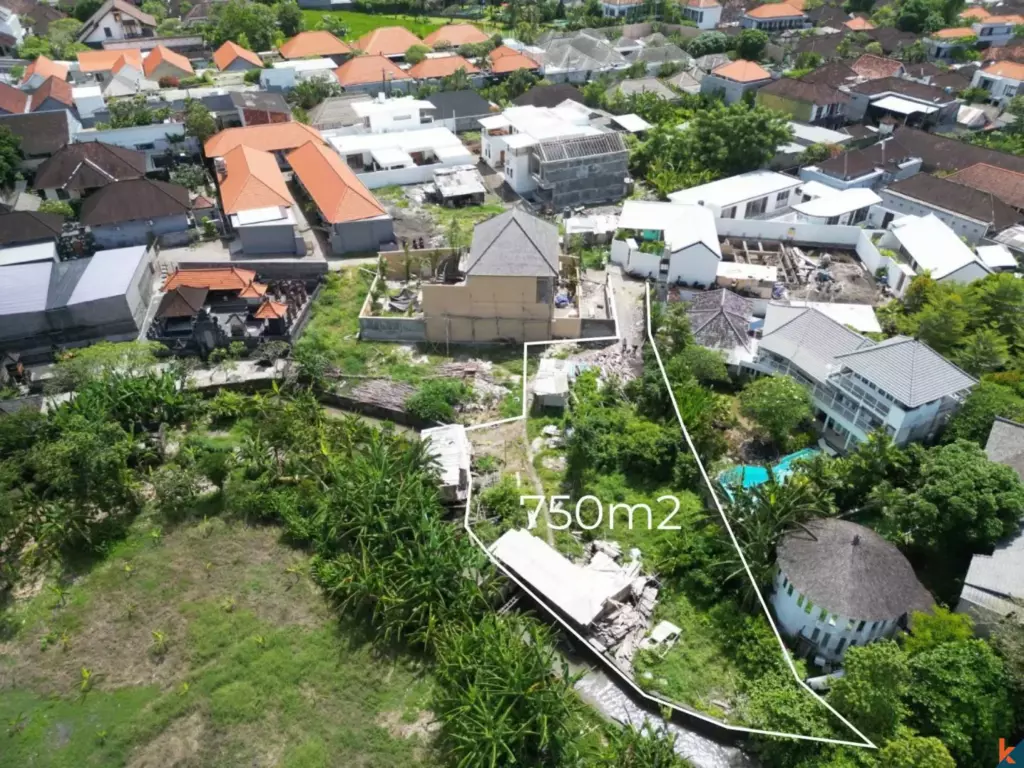 750 m²15 min$ 187038Bali, Kerobokan
 444 m²10 min$ 111000Bali, Tabanan
 1700 m²10 min$ 632257Bali, Kuta
 500 m²10 min$ 107143Bali, Tabanan
 1600 m²32 min$ 266010Bali, Tabanan
 220 m²2 min$ 66565Bali, Cemagi
Planning a build in Bali?
Get a feasibility view, budget range and timeline from Teville.
Related guides

Integrated Furniture Fixings Hidden Brackets MEP Clearance Bali
Explore integrated furniture fixings with hidden brackets and MEP clearance in Bali. Learn installation tips, load guidance, and clean, accessible finishes.
8 min read
Epoxy Primer Moisture Barrier for Bali Interior Renovations
Explore epoxy primer and moisture barrier solutions for Bali interior renovations, delivering durable adhesion, moisture protection, and long-lasting finishes.
8 min read
Engineered Stone Countertop Fixing Support Standards Bali
Explore Bali s engineered stone countertop fixing and support standards. Installation tips, durability guidance, and compliance for lasting quality surfaces.
10 min read