Polished Concrete Microtopping: Surface Prep Sealants Bali

Polished Concrete Microtopping: Surface Prep & Sealants in Bali
Specific Problem/Question
In Bali’s tropical climate—high humidity, salt-laden coastal air, intense UV, and frequent wet-dry cycles—microtopping systems often fail when surface prep and sealants are treated as afterthoughts. Owners report whitening sealers, delamination, early wear in living-dining zones, slippery bathrooms, and edge staining beneath furniture. How do we engineer a polished concrete microtopping finish that stays beautiful and durable in Bali villas and renovations, with correct substrate preparation, moisture management, and UV-stable, non-slip sealants?
Technical Deep Dive
Microtopping is a polymer-modified, cementitious overlay applied 1.5–3.0 mm thick to achieve a natural, seamless concrete look where grinding the base slab or replacing a screed is impractical. Unlike full-depth polished concrete (which mechanically densifies the structural slab), microtopping is a finishing layer, so its longevity depends on adhesion to the substrate, control of moisture vapor, and protection by correctly specified sealants.
Substrate condition rules performance. In Bali, slabs often carry residual moisture from recent pours, capillary rise, and lack of vapor barriers in older builds. Elevated moisture vapor emission (MVE) can push water into the microtopping, causing blistering or “ghosting” beneath the sealer. We mitigate this through moisture testing, dew-point checks (to avoid condensation during application), and, when necessary, moisture mitigation primers. Negative-side moisture (from the ground up) must be managed—no topcoat can “hold back” persistent vapor indefinitely.
Mechanical preparation is essential. A uniform concrete surface profile (ICRI guideline CSP 1–3) is achieved via light diamond grinding or shot-blasting to remove laitance, sealers, and contaminants. Acid etching is avoided; residues are hard to neutralize in humid climates. Pull-off adhesion testing (field spot tests) verifies bond potential. Cracks are chased and filled with low-viscosity epoxy or semi-rigid polyurea; structural movement joints are carried through or honored with detail trims. Random hairlines may be bridged with an alkali-resistant fiberglass mesh embedded in the base coat for resilience against thermal cycling.
Priming is selected by substrate and moisture condition. On dry, sound concrete, an acrylic or SBR-based primer promotes “wet-on-wet” bond. On marginal moisture levels, a high-solids, vapor-tolerant epoxy primer with a full silica sand broadcast (0.2–0.4 mm) forms a mechanical key while resisting vapor spikes. On very porous screeds, we seal and stabilize to prevent pinholes in the finish. Primers must be fully cured yet tack-receptive per manufacturer windows—Bali’s heat shortens pot life and open time, so crew sequencing is adjusted accordingly.
Microtopping application is typically two passes: a base coat to level and mesh-bridge, followed by a finish coat to define texture and tone. Mix design balances workability and shrinkage control; water addition is tightly controlled to prevent color shifts and microcracking. Trowel technique sets the visual: tight steel-trowel strokes for a dense, polished look; magic trowel passes for softer movement; or light broadcast of fine aggregates to improve slip in wet areas. Between coats, we dry sand (80–120 grit) and vacuum with HEPA filtration, keeping dust from contaminating adjacent interiors and villa utilities chases.
Color strategy considers Bali’s light and humidity. Integrally pigmented microtoppings provide stable, through-body tone; topical stains can add variegation but must be locked beneath compatible sealers. Very light colors reflect heat but show contaminants more readily; very dark colors can highlight salts and sunscreen residues—housekeeping protocols matter in coastal villas.
Sealant selection defines real-world durability. For interiors, a 2K water-based aliphatic polyurethane (PU) is preferred for low VOC, non-yellowing, and abrasion resistance. In high-UV or semi-exterior zones (open pavilions), use UV-stable aliphatic PU or polyaspartic topcoats engineered for color stability and chemical resistance to pool chemicals, surfactants, and insect repellents common in Bali. Breathability is calibrated to moisture conditions: fully film-forming coats offer superior stain resistance but may trap vapor if mitigation is inadequate; micro-porous systems tolerate limited vapor while protecting against spills. We test-site mock-ups to select sheen (matte to satin for glare control) and slip resistance (add silica or polymer beads to reach target wet pendulum values in bathrooms and near pools).
Edge and detail work is an often-missed failure point. We reinforce external corners, coordinate with cabinetry and furniture installation for protection clearances, undercut door casings for seamless returns, and sleeve floor boxes and MEP penetrations with flexible collars to prevent cracking at stress risers. In wet areas, we integrate with waterproofing layers and maintain positive falls to floor wastes without thinning the topping below manufacturer minimums.
Maintenance cycles close the loop: pH-neutral cleaners, microfiber pads, and scheduled re-coats (typically 18–36 months in high-traffic villa rentals, longer in private homes). Chair glides and felt pads prevent point abrasion; entrance mats control sand ingress. With correct prep and sealants, microtopping delivers a refined, “polished concrete” aesthetic tailored to Bali’s environment.
Materials & Standards
- Microtopping compound: Polymer-modified, cementitious blend with fine aggregates (200–400 μm). Compressive strength commonly 25–40 MPa; flexural strength ≥6 MPa. Low shrinkage, alkali-resistant polymers.
- Primers: Acrylic/SBR primers for dry substrates; high-solids, moisture-tolerant epoxy primers for elevated RH, with full silica sand broadcast to refusal for mechanical keying.
- Crack repair: Low-viscosity epoxy injection for dormant cracks; semi-rigid polyurea for control joints subject to minor movement. Fiberglass mesh for hairline networks.
- Aggregate/broadcast: Washed silica 0.2–0.4 mm to improve bond and optionally slip resistance in wet zones.
- Tools: Diamond grinders (virtually dustless with HEPA), gauge rakes, steel and magic trowels, slow-speed mixers, sanding screens 80–220 grit.
- Sealants: 2K water-based aliphatic PU (interiors), aliphatic polyaspartic/PU (semi-exterior and high-UV). Optional penetrating hardener/densifier for cement phases when specified by the system supplier.
- Performance benchmarks: Pull-off adhesion ≥1.5 MPa (preferably 2.0 MPa) after cure; surface profile CSP 1–3; wet slip resistance per project brief (bathrooms/poolside higher rating).
- Standards and guidance: Follow recognized practices such as ICRI 310.2R (surface prep), ASTM F710 (subfloor prep), ASTM F2170 (in-situ RH), ASTM C1583 (pull-off), and applicable local building codes. For slip resistance, align with international methods (e.g., pendulum testing) as project-appropriate.
- Environmental/health: Prefer low-VOC systems indoors; ensure ventilation during curing. Avoid solvent-rich systems in enclosed spaces unless ventilation and safety plans are in place.
Teville specifies complete, compatible systems from primer to topcoat—no mixing brands ad hoc—to maintain warranty integrity and predictable performance for interior finishing in Bali.
Step-by-Step Process
- Preconstruction survey: Review drawings, MEP penetrations, slopes, thresholds, and joint layouts. Identify coastal exposure, open pavilion edges, and bathroom wet zones. Agree sheen and slip targets, color, and mock-up location.
- Moisture and substrate testing: In-situ RH and surface moisture screenings; map coatings/contaminants. Conduct representative pull-off adhesion tests where prior toppings exist. If moisture is high, plan mitigation primer.
- Protection and isolation: Seal adjacent rooms; cover villa utilities, drains, and cabinetry; install dust barriers and negative-air filtration for occupied renovations in Bali.
- Mechanical preparation: Diamond grind to CSP 1–3. Remove weak screeds, paints, curing compounds, and surface oils. Vacuum with HEPA; verify clean, sound substrate.
- Crack and joint detailing: Chase cracks; fill with epoxy or semi-rigid polyurea. Honor structural and movement joints, planning joint covers or neat reveals through the topping as required.
- Moisture mitigation (if required): Apply vapor-tolerant epoxy primer; broadcast silica to refusal; allow to cure; vacuum excess. Confirm no glossy spots remain (must be fully textured).
- Standard priming: On dry, sound substrates, roll/squeegee acrylic/SBR primer per spec. Control dew point and substrate temperature to avoid flash-off or condensation.
- Base microtopping coat: Mix per data sheet (controlled water ratio). Place with gauge rake and trowel; embed fiberglass mesh where needed. Aim for 1.0–1.5 mm. Allow to cure; avoid rapid drying in windy, open pavilions.
- Intercoat prep: Dry sand (80–120 grit) to remove trowel ridges; vacuum thoroughly. Inspect for pinholes; spot fill as necessary.
- Finish microtopping coat: Apply 0.8–1.2 mm. Set desired movement with trowel technique. Integrate pigmentation or stains if specified, observing dwell times and neutralization protocols from the supplier.
- Finish sanding and cleaning: Lightly abrade (120–220 grit) to refine; vacuum and tack-wipe. Any dust remaining will telegraph through clear coats.
- Sealant system: Apply first coat of 2K water-based aliphatic PU; maintain wet edge and film thickness. For wet zones or semi-exteriors, include anti-slip additive in final coat and consider UV-stable polyaspartic for top layer. Typical system: 2–3 coats to reach specified microns.
- Curing and environmental control: Maintain temperature and humidity within product windows. Prevent early water exposure, wind-driven dust, and foot traffic. Bali humidity can slow cure; adjust recoat intervals accordingly.
- Quality checks: Inspect for holidays, gloss uniformity, edge detailing, and slip resistance targets. Conduct spot adhesion checks at mock-up if specified.
- Integration with furniture installation: After full cure (typically 72 hours for light foot traffic; 5–7 days for heavy furniture), install cabinetry and loose furniture with felt glides; avoid dragging legs. Use breathable floor protection (ram board) during final fit-out.
- Handover and maintenance plan: Provide cleaning protocol (pH-neutral), matting strategy to control sand, and re-coat schedule. Educate housekeeping on sunscreen and insect-repellent spill risks.
See how Teville phases finishing works within full-cycle builds: How we build and review project outcomes in our Portfolio and Villa Projects.
Costs & Timeline
Indicative ranges in Bali (materials + labor, excluding VAT; final pricing depends on area, access, substrate condition, design complexity
 164 m²7 month(s)from 79.000 USD
TALA TWO
164 m²7 month(s)from 79.000 USDPrivate: Haridas Villas, Tegallalang
 4344 m²16 month(s)from 290.000 USD
Radha
 3124 m²6 month(s)from 123.000 USD
TALA 8
 3104 m²11 month(s)from 99.000 USD
TALA 100
 2144 m²11 month(s)from 104.000 USD
Narayana
 172 m²8 month(s)from 120.000 USD
Keshava
 1from 198.000 USD
Private: Haridas Villas
 3180 m²7 month(s)from 142.000 USD
Vasudeva
 3127 m²9 month(s)from 177.000 USD
Mukunda
 3173 m²6 month(s)from 125.000 USD
TALA FOUR

Want to calculate?
Start With Real Numbers, Not Guesses
Before finalizing your finishing works plan, check realistic cost ranges for your Bali villa project.
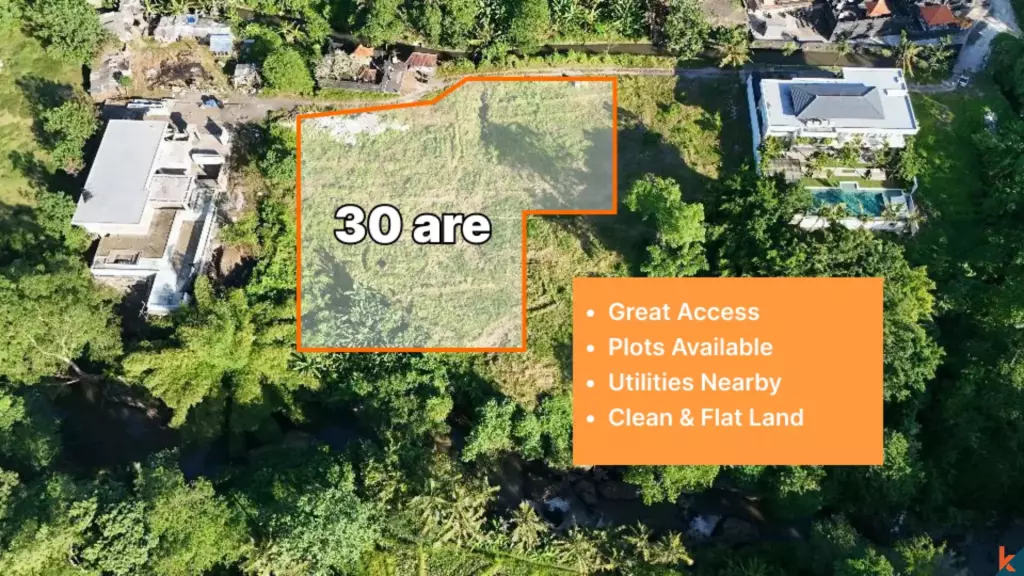
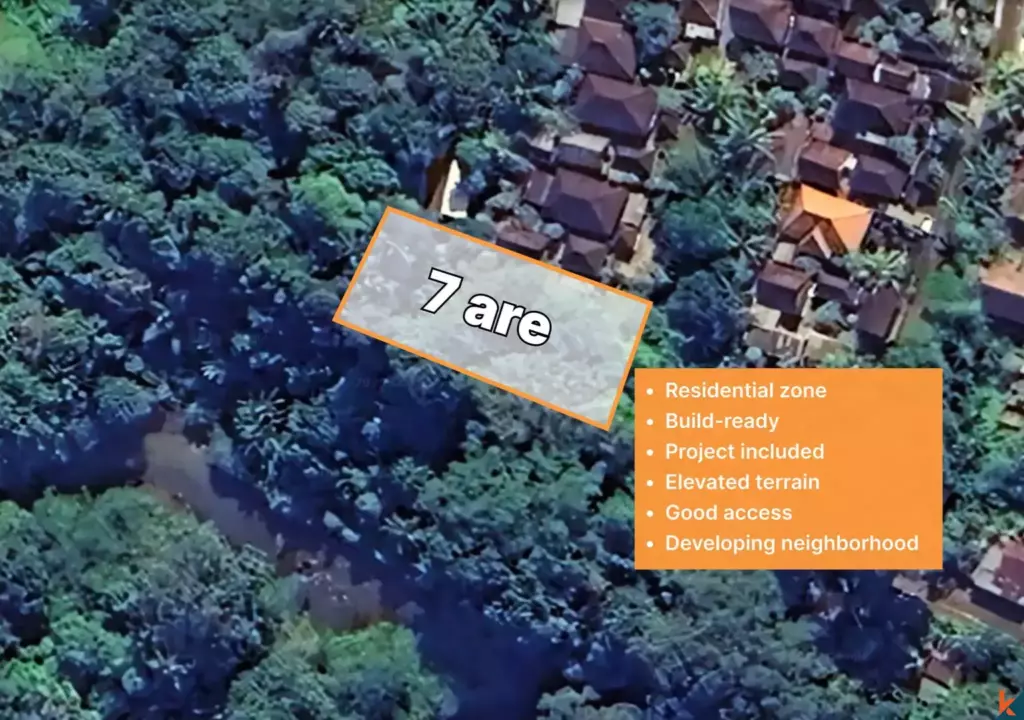
Available lands
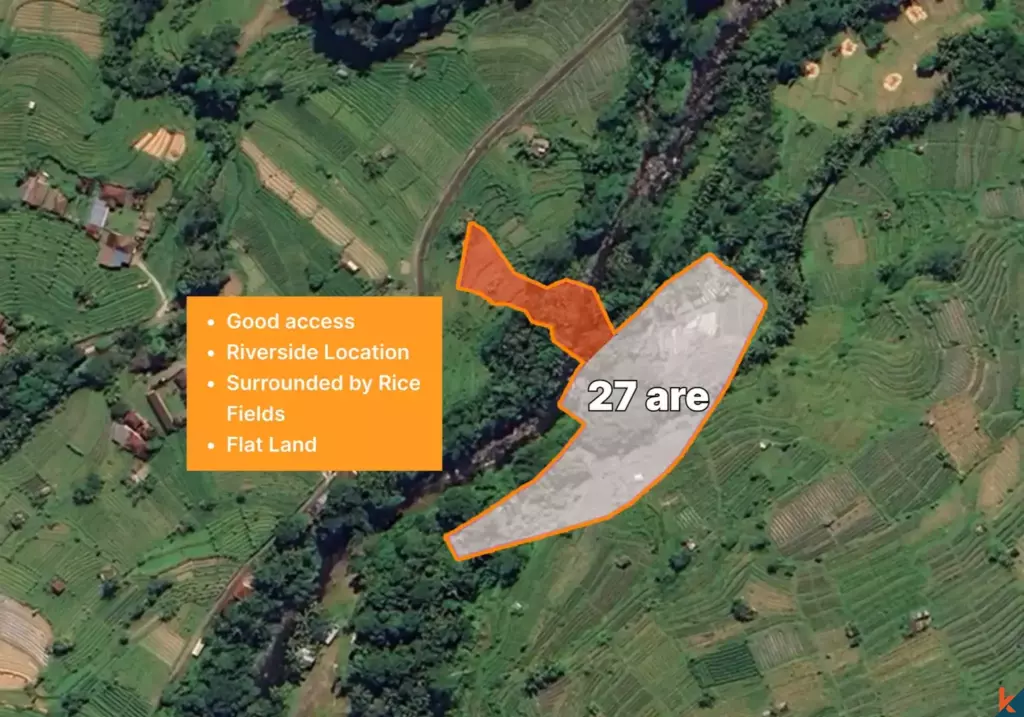 2700 m²30 min$ 314224Bali, Sidemen
 680 m²15 min$ 110751Bali, Pererenan
 3800 m²15 min$ 100616Bali, Pererenan
 800 m²5 min$ 295567Bali, Seseh
 700 m²15 min$ 162500Bali, Tabanan
 2000 m²10 min$ 243842Bali, Mengwi
 444 m²10 min$ 111000Bali, Tabanan
 700 m²15 min$ 90517Bali, Central Bali
 1660 m²10 min$ 343448Bali, Kerobokan
 2500 m²5 min$ 609606Bali, Kedungu
 4270 m²10 min$ 394397Bali, Ubud
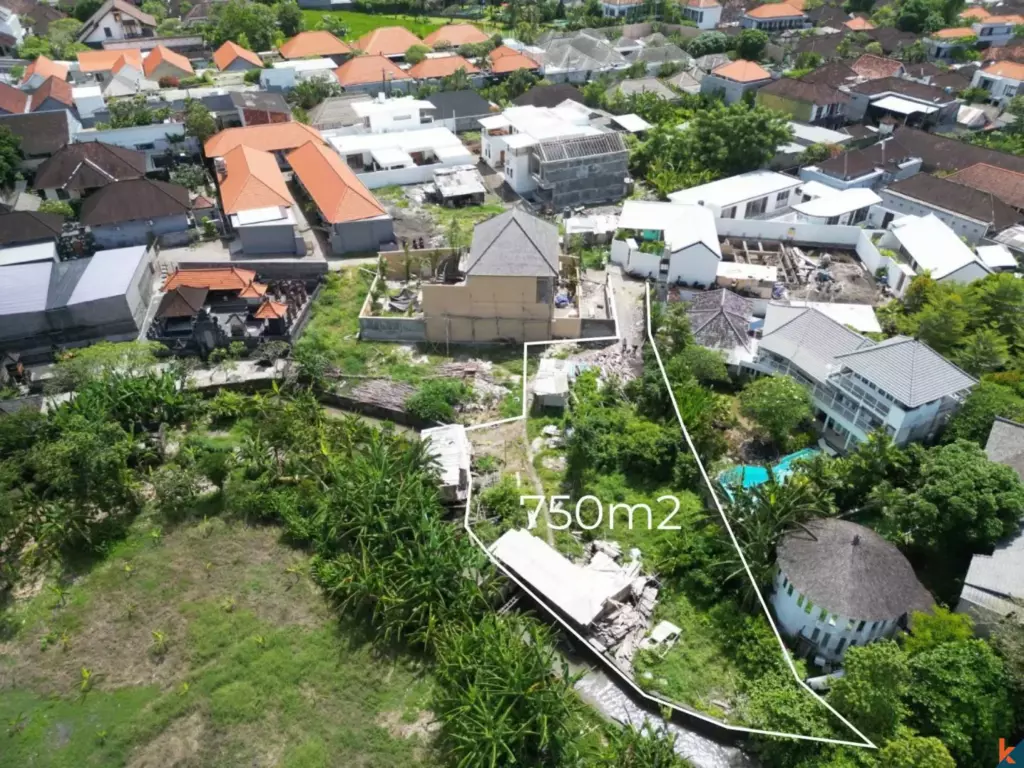 750 m²15 min$ 187038Bali, Kerobokan
 3000 m²15 min$ 738916Bali, Cepaka
 204 m²5 min$ 40899Bali, Kedungu
 700 m²20 min$ 90517Bali, Cepaka
Planning a build in Bali?
Get a feasibility view, budget range and timeline from Teville.
Related guides

Marine-Grade Fixings for Bali Joinery: Corrosion Protocols
Explore marine-grade fixings and corrosion protocols for Bali coast joinery. Learn materials, maintenance tips, and best practices to extend timber durability.
10 min read
Resin-Infused Plaster Finishes: Anti-Salt Systems Bali
Expert technical guide: Resin-Infused Plaster Finishes: Anti-Salt Systems Bali
8 min read
Prefinished Timber Joinery: Silicone Seals Fixings Bali
Professional prefinished timber joinery installation in Bali with silicone seals and fixings for durable weatherproof performance and a premium finish.
10 min read