Porcelain Tile Leveling Crack-Isolation for Bali Villas

Porcelain Tile Leveling & Crack-Isolation for Bali Villas
1) The Specific Problem
In Bali’s tropical, seismic environment, large-format porcelain tiles can telegraph every minor substrate imperfection: lippage on living floors, hairline cracks across bathroom walls, and tenting on sun-exposed terraces. The question villa owners and project managers ask is simple: how do we achieve a dead-flat, durable porcelain finish that resists cracking and movement over time? The answer is a disciplined system—substrate preparation, crack-isolation membranes, and professional tile leveling—applied with the rigor required for premium interior finishing Bali and coastal conditions.
2) Technical Deep Dive: What Works in Bali—and Why
Porcelain Behavior in a Tropical, Seismic Context
Porcelain is rigid, dimensionally stable, and unforgiving. Bali’s temperature swings (sun-exposed terraces to cool rain), high humidity, and micro-seismic movement demand that the assembly beneath the tile absorbs differential movement before it reaches the tile. Without this buffer, even a perfect installation can crack at slab shrinkage joints, cold joints, or hairline substrate fractures, especially during renovation Bali when new work interfaces with existing structures.
Leveling Systems: Flatness vs. Lippage Control
Tile leveling systems (TLS)—clip-and-wedge or cap-and-screw—control lippage during cure. They do not fix substrate flatness; that is the screed’s job. On 600×600, 600×1200, or larger slabs, we aim for substrate flatness of approximately 3 mm in 3 m (and 1.5–2 mm in 600 mm) before adhesive. Directional troweling and back-buttering then ensure full coverage.
- Clip-and-wedge: Fast, economical, ideal for consistent joint widths.
- Spin-cap: Greater clamping with reusable caps; higher upfront cost.
- Key rule: TLS is a placement aid, not a substitute for a flat substrate.
Crack-Isolation Membranes: Sheet vs. Liquid
To decouple tile from slab micro-movement, we use crack-isolation membranes meeting recognized performance benchmarks (e.g., ANSI A118.12). Two main types:
- Sheet membranes (uncoupling/anti-fracture): Consistent thickness, quick coverage, excellent for mixed substrates and renovations. Provide stress relief and help manage vapor diffusion when properly specified.
- Liquid-applied elastomeric membranes: Ideal for irregular areas and penetrations. Must be applied in controlled coats to reach specified dry-film thickness. Some are dual-rated for waterproofing (A118.10) when showers, spas, and wet terraces require both isolation and waterproofing.
In Bali, sheet systems excel over hairline cracks and cold joints; liquid systems shine around drains, thresholds, and edge details. Often we combine them for best results.
Adhesives, Coverage, and Movement Accommodation
Large-format porcelain needs deformable, polymer-modified, high-bond adhesives (ISO 13007: C2TE S1 or S2). Coverage targets:
- Interiors/dry: ≥ 90% coverage.
- Exteriors/wet zones: ≥ 95% coverage with back-buttering.
We use slant/Euro-notched trowels for better ridge collapse and directional troweling perpendicular to tile’s shortest side. Movement joints are non-negotiable: perimeter, transitions, and fields sized according to exposure. Seal with durable, UV-stable elastomeric sealant, not grout.
Moisture, Slab Shrinkage, and Thermal Cycling
Rapid slab moisture and vapor migration drive many failures. On new slabs, we verify moisture with in-situ RH testing where feasible. In shaded interiors, moisture equilibration is faster; on sun-exposed terraces, differential heating is intense. We strategically locate movement joints (typically every 20–25 m² interior and tighter on exteriors with solar gain), ensure slope to drains (1.5–2%), and detail edges to reject water. In coastal zones, salt-laden air accelerates degradation; exterior sealants and grouts must be UV- and water-resistant.
Exterior Terraces, Pools, and Thresholds
Outside spaces face the worst: solar load, rain shocks, wind-driven spray, and substrate movements. We specify membranes that tolerate thermal cycling and select porcelain with appropriate slip-resistance for wet barefoot areas. Thresholds are detailed with waterproof transitions, metal trims, and continuous isolation so door frames and tiles move independently. Pool surrounds require expansion breaks around skimmers, drains, and equipment pads connected to villa utilities.
Quality Control for Finishing Excellence
- Laser mapping of flatness prior to tiling and after screed correction.
- Mock-ups of setting, TLS, grout, and movement joints for client approval.
- Pull tests/spots to confirm adhesive transfer on first rows and periodically.
- Cure protection (no early traffic, no furniture load before grout cures).
At Teville, these controls anchor the finishing phase of Bali villa construction and ensure the final, visible layer performs as designed.
3) Materials & Standards for Bali Conditions
Adhesives, Grouts, and Sealants
- Adhesives: ISO 13007 C2TE S1 (general) or S2 (high movement). For exteriors and sun-exposed decks, select extended open time and high bond under thermal shock.
- Grout: CG2 WA (improved cementitious with water repellency) or high-performance epoxy for wet/grease-prone areas. Color-fastness and low absorption are key in coastal zones.
- Sealants for movement joints: Low-modulus, UV-stable elastomeric compliant with relevant performance criteria. Use compatible backer rods and primers.
Membranes
- Crack-isolation: Products meeting recognized anti-fracture standards (e.g., ANSI A118.12). Choose sheet or liquid based on area geometry and sequencing.
- Waterproofing (wet rooms/terraces): Membranes meeting waterproofing performance (e.g., A118.10) where continuous waterproofing is required. Seam treatment and terminations must follow manufacturer specifications.
Leveling Systems & Tools
- TLS clips/wedges/caps: Sized to tile thickness, with consistent break-off stems. Use with dedicated pliers for controlled clamping.
- Trowels: Euro/slant notch (9–12 mm) for large-format tiles; margin trowel for back-buttering.
- Layout & checks: Laser levels, 2 m straightedges, feeler gauges, and calibrated moisture meters where applicable.
Substrate & Screeds
Use polymer-modified, fiber-reinforced screeds for dimensional stability and faster drying. Where radiant lines, electrical conduits, or plumbing risers cross under floors (villa utilities), maintain cover depth and integrate isolation over control joints. Screed flatness is verified before membrane installation; local SNI requirements apply where specified, with ISO/ANSI benchmarks guiding tolerances and performance.
Environmental Durability
- UV- and water-resistant sealants for exteriors.
- Grouts and trims suitable for salt air near coasts.
- Non-staining mortars for light-colored stones paired with porcelain accents.
4) Step-by-Step Process: Teville Method
Step 1: Assessment & Planning
- Survey substrates: flatness mapping, crack mapping, moisture conditions, control/cold joints.
- Define exposure: interior dry, interior wet, exterior shaded, exterior sun-exposed, pool areas.
- Select system: sheet or liquid crack-isolation; waterproofing necessity; adhesive class; TLS type; grout and joint plan.
Step 2: Substrate Preparation
- Clean, vacuum, and mechanically abrade weak laitance or contaminants.
- Fill depressions and plane high spots to reach target flatness (≈3 mm in 3 m for large-format).
- Prime as specified for screed or membrane adhesion.
Step 3: Crack-Isolation & Waterproofing
- Sheet membranes: Roll out, align, and embed into thin-bed adhesive; treat seams, edges, and penetrations per spec. Bridge cracks and cold joints, continuing membrane up verticals where required.
- Liquid membranes: Apply in cross-layers to achieve required dry-film thickness; reinforce corners and drains with fabric as specified. Verify cure before tiling.
Step 4: Layout & Dry-Fit
- Establish control lines and module alignment from main sightlines and thresholds.
- Dry-lay critical rows, set movement joint positions, and coordinate trims and transitions to adjacent finishes and door systems.
Step 5: Adhesive Application
- Mix polymer-modified adhesive within pot life; observe slake time if specified.
- Directional troweling to promote ridge collapse; maintain wet edge.
- Back-butter tiles (especially ≥600×600 or textured backs) to ensure coverage.
Step 6: Placement with Leveling System
- Insert TLS clips at edges per manufacturer spacing; set tile onto combed bed, slide and beat-in to expel air.
- Engage wedges/caps evenly; do not over-tighten to avoid hollow spots.
- Check plane with straightedge; adjust immediately while adhesive is workable.
Step 7: Movement Joints & Perimeters
- Honor existing structural/control joints; never bridge with rigid materials.
- Install compressible backer and sealant at perimeters, columns, and transitions.
- Field joints at prescribed intervals—tighter spacing outdoors and under direct sun.
Step 8: Curing & Protection
- Allow adhesive to cure undisturbed; remove TLS stems at correct time by tapping along joint direction.
- Protect surfaces from foot traffic, impacts, and early furniture placement.
Step 9: Grouting & Finishing
- Choose grout consistent with exposure; mix and pack joints fully.
- Tool sealant joints cleanly; verify adhesion.
- Final wash and haze removal; implement initial maintenance plan.
Step 10: Handover & Documentation
- Provide membrane locations, movement joint map, and product data.
- Advise on loading limits and placement sequencing for furniture installation.
- Schedule post-install inspection before full occupancy.
See how we coordinate finishing in practice: How We Build, Villa Projects, and Portfolio.
5) Costs & Timeline: What to Expect
Every project differs by substrate condition, tile size, exposure, and access. Typical ranges in Bali for professional assemblies:
- Crack-isolation membrane: IDR 120,000–300,000 per m² (liquid vs. sheet; complexity and detailing affect cost).
- Waterproofing (where required): IDR 150,000–350,000 per m² additional, depending on build-up and reinforcement.
- Adhesive (C2TE S1/S2) and setting materials: IDR 120,000–220,000 per m², increasing with very large formats or textured backs.
- Leveling system consumables: IDR 35,000–80,000 per m² (clip density and system choice).
- Professional installation labor: IDR 250,000–500,000 per m², driven by substrate corrections, layout complexity, and exterior detailing.
Timeline (indicative for 100–150 m² continuous area):
- Assessment and prep: 2–4 days (more if extensive slab correction).
- Membrane and detailing: 2–3 days plus cure time as specified.
- Tiling with TLS: 20–35 m²/day for 600×600; 12–20 m²/day for 600×1200 or larger.
- Grouting and sealant joints: 1–2 days.
- Protection and cure before furniture installation: typically 3–7 days depending on materials and climate.
For a project-specific plan and cost model, use Teville’s estimator: Cost Estimation. We never reduce performance to chase price; the assembly must suit Bali’s climate for long-term durability.
6) FAQ: Porcelain Leveling & Crack-Isolation in Bali
Do I really need a crack-isolation membrane in Bali?
Yes, especially on new or renovated slabs, and anywhere there are cold joints, hairline cracks, or exterior exposures. The membrane absorbs micro-movements and reduces the chance of cracks telegraphing to the tile.
Are leveling systems the same as spacers?
No. Spacers set joint width; leveling systems clamp adjacent tiles to the same plane during cure to prevent lippage. Use both appropriately.
What if my slab already has hairline cracks?
We map them, stabilize as needed, and bridge with an isolation membrane. Joints that are structural or active are carried through to the tile surface as movement joints.
Can I skip movement joints indoors?
No. Perimeter and field joints are required to accommodate thermal and hygrometric changes, even indoors. They’re discrete when detailed well.
What changes outdoors on terraces and pool decks?
More movement accommodation, higher adhesive coverage, slip-resistant porcelain, UV-stable sealants, and robust waterproofing
 3173 m²6 month(s)from 125.000 USD
TALA FOUR
 3127 m²9 month(s)from 177.000 USD
Mukunda

Want to calculate?
 2144 m²11 month(s)from 104.000 USD
Narayana
 3104 m²11 month(s)from 99.000 USD
TALA 100
 164 m²7 month(s)from 79.000 USD
TALA TWO
 3124 m²6 month(s)from 123.000 USD
TALA 8
164 m²7 month(s)from 79.000 USDPrivate: Haridas Villas, Tegallalang
 172 m²8 month(s)from 120.000 USD
Keshava
 1from 198.000 USD
Private: Haridas Villas
 4344 m²16 month(s)from 290.000 USD
Radha
 3180 m²7 month(s)from 142.000 USD
Vasudeva
Start With Real Numbers, Not Guesses
Before finalizing your finishing works plan, check realistic cost ranges for your Bali villa project.
Available lands
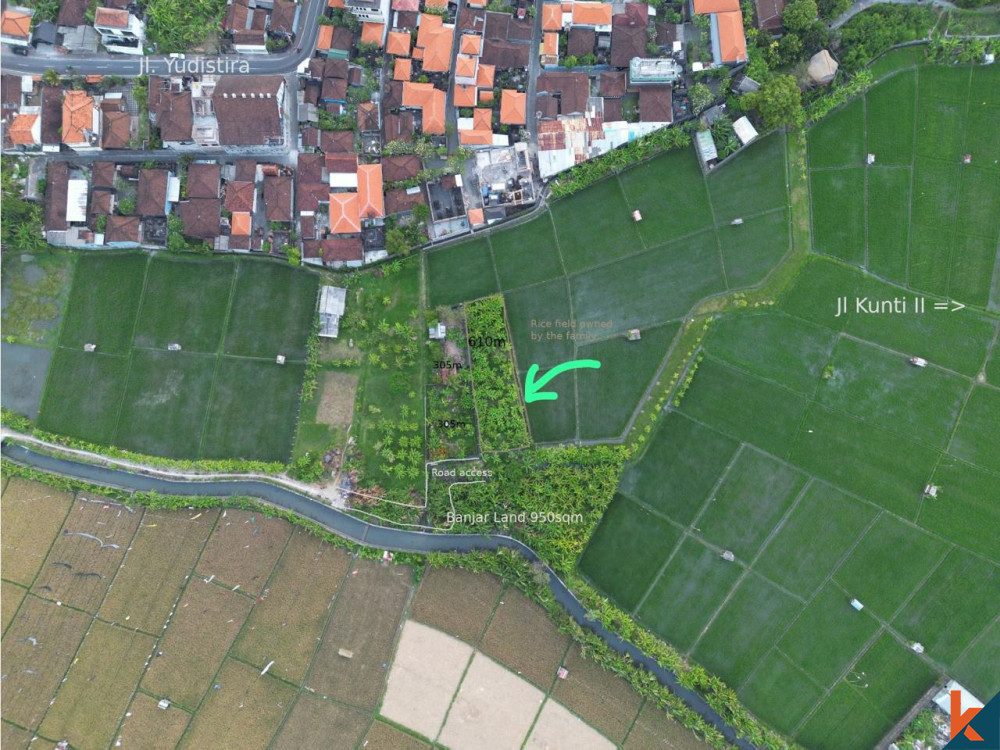 610 m²10 min$ 165271Bali, Seminyak
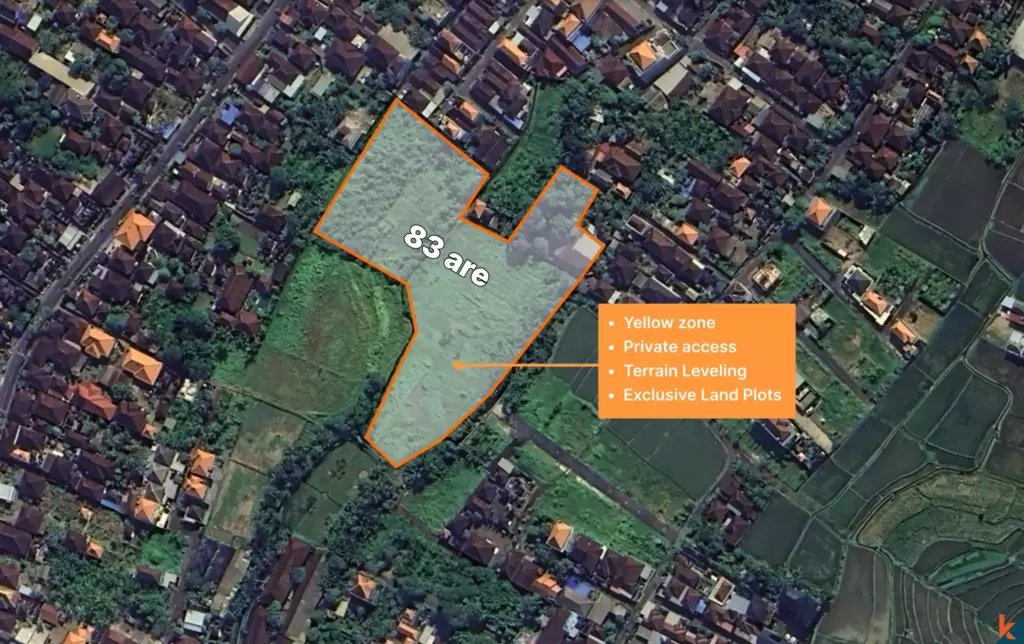 8313 m²15 min$ 716670Bali, Buduk
 3254 m²5 min$ 631800Bali, All
 1000 m²10 min$ 384852Bali, Canggu
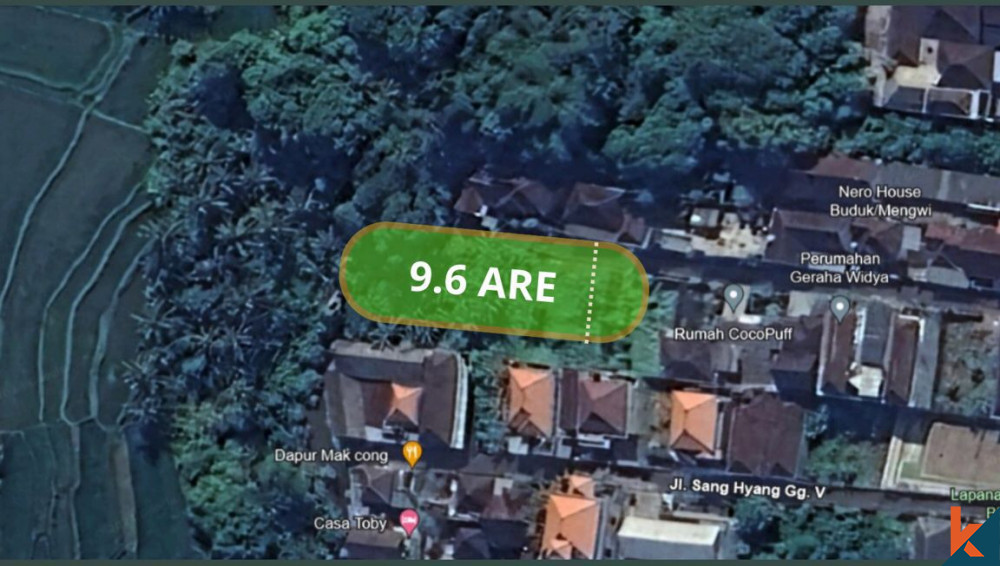 960 m²15 min$ 91034Bali, Mengwi
 200 m²5 min$ 59113Bali, Bukit
 1000 m²5 min$ 350431Bali, Drupadi
 2680 m²10 min$ 1732759Bali, Pererenan
 515 m²7 min$ 570813Bali, Canggu
 1000 m²10 min$ 123154Bali, Jimbaran
 300 m²55 min$ 32475Bali, Tegelalang
 700 m²15 min$ 162500Bali, Tabanan
 1200 m²2 min$ 155172Bali, Klungkung
 3100 m²15 min$ 257697Bali, Tegallalang
 422 m²15 min$ 93547Bali, Kerobokan
Planning a build in Bali?
Get a feasibility view, budget range and timeline from Teville.
Related guides

Marine-Grade Fixings for Bali Joinery: Corrosion Protocols
Explore marine-grade fixings and corrosion protocols for Bali coast joinery. Learn materials, maintenance tips, and best practices to extend timber durability.
10 min read
Resin-Infused Plaster Finishes: Anti-Salt Systems Bali
Expert technical guide: Resin-Infused Plaster Finishes: Anti-Salt Systems Bali
8 min read
Prefinished Timber Joinery: Silicone Seals Fixings Bali
Professional prefinished timber joinery installation in Bali with silicone seals and fixings for durable weatherproof performance and a premium finish.
10 min read