Wet-Area Cementitious Waterproofing: Tile Prep Detailing Bali

Wet-Area Cementitious Waterproofing: Tile Prep & Detailing in Bali
1) The Specific Problem We Solve
In Bali’s tropical climate—constant humidity, thermal cycling, and salt-laden air—wet rooms fail early when waterproofing and tile prep are treated as “just another coat.” Showers leak into bedrooms, pools dampen plant rooms, and dark lines creep across grout. The root causes are almost always the same: poor substrate preparation, incompatible materials, and missing details at drains, corners, and penetrations. This Bali area guide explains, in depth, how Teville executes cementitious waterproofing under tiles so your bathrooms, spas, laundries, and balconies remain dry, hygienic, and durable.
2) Technical Deep Dive: What Works in Bali (And Why)
System choice—cementitious, polymer-modified membranes (CM): For positive-side wet areas (showers, baths, balconies), we specify two-component polymer-modified cementitious membranes beneath tiles. These systems chemically bond to mineral substrates, tolerate constant moisture, and deliver crack-bridging flexibility with tile-ready surfaces. They are stable in high alkalinity, compatible with cement-based adhesives, and ideal for villa renovations and new Bali villa construction interiors.
Substrate realities in Bali: Substrates are typically cast-in-place concrete slabs, cement-sand screeds, or rendered blockwork. Frequent issues include laitance, micro-cracking from fast drying, over-troweled surfaces, and non-uniform slope to drain. Salt exposure near the coast accelerates corrosion of embedded metals and can disrupt weak membranes. We address this with mechanical profiling, patch mortars, reinforced corners, and full adhesion to reduce vapor pockets.
Moisture management: Even with “dry” rooms, tropical humidity drives interstitial moisture. Cementitious membranes allow controlled vapor diffusion while resisting water ingress, reducing blistering under tiles. For below-grade or negative-side pressure, different strategies are required; but for showers, spas, and balconies, positive-side cementitious membranes are our workhorse.
Detailing priorities:
- Corners and coves: Reinforce with alkali-resistant mesh embedded in the first coat, with a slight cove at wall-floor interfaces to avoid sharp stress points.
- Movement and perimeter joints: Honor structural joints by installing bond-breaker tape and a compatible elastic sealant; never “paint over” active joints.
- Drains and penetrations: Use clamping drains or integrated flanges; apply preformed collars for pipes; slope screeds at 1.5–2.0% toward drains.
- Transitions: At door thresholds and balcony edges, continue membrane upstands and incorporate metal trims for a clean, resilient transition to dry zones and furniture installation plinths.
Compatibility and classifications: Under-tile membranes should align with liquid-applied systems for tile installations (e.g., EN 14891). Tile adhesives should be C2 (improved) with deformability (S1/S2) to accommodate thermal and moisture movement. Grouts should be CG2 or epoxy for high-use zones (EN 13888). We coordinate with MEP so that villa utilities—floor wastes, linear drains, mixers, WC frames—are set to membrane-compatible details before tiling.
Adhesion and flatness: Tile flatness is performance-critical when using large-format porcelain (common in interior finishing Bali). We target screed flatness that permits uniform trowel ridges and reliable back-buttering, preventing voids where water might accumulate or cause resonance cracking.
Product families: Polymer-modified cementitious systems from reputable manufacturers (see Alchimica—under-tiles wet-room waterproofing) provide robust adhesion and crack-bridging. Waterproof tile adhesives in wet areas must be compatible with the membrane and tile body; recent summaries of bathroom-grade adhesives emphasize water resistance and flexibility (see waterproof tile adhesive solutions).
Testing and curing: We observe manufacturer-defined dry film thickness (DFT) and curing windows, then flood-test for 24–48 hours before tiling. In Bali’s humidity, we control ventilation and temperature to avoid skinning and pinholes.
Renovation constraints: In renovation Bali scenarios, we often interface with existing tiles, differing screed heights, or non-standard drains. We either remove to a sound mineral substrate or, where feasible, create a bonded leveling layer to “reset” slopes and heights without compromising door thresholds or furniture cabinetry lines.
3) Materials & Standards: The Specification Backbone
Core materials:
- Two-component polymer-modified cementitious waterproofing membrane (liquid-applied, brush/roller/trowel).
- Primer compatible with substrate porosity and membrane chemistry.
- Alkali-resistant fiberglass or polyester reinforcing mesh (corners, changes of plane, cracks).
- Bond-breaker tape and elastic sealants (polyurethane, silyl-modified polymer) for movement joints.
- Preformed collars and gaskets for pipe penetrations; clamping or flanged drains; linear drains with integrated upstands.
- High-quality cementitious tile adhesive C2TES1/S2 (EN 12004) appropriate for wet areas and large-format tiles.
- Grouts: CG2 cementitious for general use; epoxy grout for heavy wet zones, steam rooms, or staining risk (EN 13888).
- Metal trims and profiles (anodized aluminum, stainless steel 304/316) for edges and transitions.
Reference standards and guidance:
- EN 14891: Liquid-applied waterproofing beneath ceramic tiling—performance requirements.
- EN 12004: Adhesives for tiles—classification (C2, T, E, S1/S2).
- EN 13888: Grout classification (CG2, RG).
- AS/NZS 4858 (where referenced by manufacturers): Waterproofing membranes for internal/external wet areas.
- Manufacturer datasheets—DFT, coverage, curing, flood-test timing—are binding.
- Local Indonesian practice and applicable SNI/PU guidance; confirm site-specific approvals with Bali authorities and consultants.
We align the entire stack—substrate repair, membrane, adhesive, grout, trims—so chemistry and movement performance are compatible. This is the foundation of quality finishing and durability in Bali’s climate.
4) Step-by-Step Process: Teville’s Field-Proven Method
1. Survey and coordination
- Confirm MEP rough-ins, drain types/heights, and furniture installation footprints (vanities, cabinetry plinths).
- Agree on finished floor levels at thresholds, balcony edges, and adjacent dry zones.
2. Substrate preparation
- Mechanically abrade to remove laitance, weak toppings, contaminants. Vacuum clean.
- Repair cracks and voids with polymer-modified repair mortars; stabilize substrates.
- Form screed to falls 1.5–2.0% toward drains; ensure flatness compatible with tile format.
- Round internal corners slightly for membrane conformity.
3. Priming
- Apply the membrane manufacturer’s approved primer; adjust for porosity and ambient humidity.
- Allow prescribed tack time; avoid dust contamination.
4. First membrane coat + reinforcement
- Apply first cementitious membrane coat by brush/roller, targeting coverage for specified wet film thickness.
- Embed alkali-resistant mesh at all corners, changes in plane, over shrinkage cracks, and around drains.
- Install bond-breaker tape and elastic sealant at movement joints and perimeters; do not bridge active joints with rigid materials.
5. Penetrations and drains
- Fit preformed collars at pipes; seal per system details.
- For floor wastes, use clamping/flanged drains; lap membrane under the flange with full contact. For linear drains, ensure upstand continuity and slope alignment.
6. Second membrane coat
- Apply perpendicular to the first coat for coverage uniformity.
- Verify cumulative DFT meets manufacturer minimums (gauge checks at multiple points).
- Form upstands at walls, thresholds, and balcony edges to specified height (often ≥100–150 mm in internal wet rooms, higher externally as per design).
7. Curing and flood test
- Allow full cure per datasheet, considering Bali humidity and temperature.
- Conduct a 24–48 h flood test; mark any damp spots below, investigate and rectify before tiling.
8. Tile installation
- Select C2TES1/S2 adhesive compatible with the membrane and tile. Mix precisely; respect pot life and open time.
- Use the correct trowel notch; back-butter large-format tiles. Maintain ridge orientation toward the drain to aid de-airing.
- Set trims and profiles true; preserve perimeter and movement joints. Align with architectural lines and cabinetry fronts for premium interior finishing Bali standards.
9. Grouting and sealing
- After adhesive cure, grout with CG2 or epoxy per exposure and hygiene requirements.
- Use flexible sealant at all changes of plane, around fixtures, and at thresholds—never rigid grout in these joints.
10. Quality control and handover
- Check slope, joint continuity, and finish quality under bright light.
- Document products, batch numbers, and as-built details for maintenance files.
- Coordinate final furniture installation and villa utilities trim-off to avoid piercing the waterproof layer post-handover.
5) Costs & Timeline: What to Expect in Bali (Guidance)
Indicative costs (2026, Bali)—actual pricing depends on area size, substrate condition, tile format, exposure (interior/exterior), and specification level:
- Surface prep and screed to falls: IDR 200,000–450,000/m² (repairs, leveling, slope creation).
- Cementitious waterproofing system (primer, 2 coats, reinforcement, details): IDR 250,000–600,000/m².
- Drain and penetration detailing (per point): IDR 300,000–1,200,000 (type-dependent).
- Tile installation with C2TES1/S2 adhesive: IDR 250,000–500,000/m² (large-format at upper end).
- Grouting: IDR 60,000–120,000/m² (epoxy higher).
Typical durations (working days; weather and curing dependent):
- Small bathroom (6–10 m²): 5–7 days prep/waterproofing + 2–3 days tiling/grout, excluding cure/flood-test wait times.
- Master suite + balcony (20–30 m²): 8–12 days for prep/waterproofing + 4–6 days tiling/grout.
- Spa/wellness zones: add time for complex drains, benches, steam-proofing, and epoxy grout.
Note: We avoid compressing curing windows; in Bali’s humidity, full membrane cure and flood test scheduling are pivotal to long-term durability and finishing quality.
6) FAQ: Cementitious Waterproofing for Wet Areas in Bali
Q1: Why choose cementitious membranes under tiles in Bali?
They bond tenaciously to mineral substrates, tolerate constant moisture, and are compatible with cementitious adhesives and grouts. Their vapor tolerance reduces blistering risk in humid climates.
Q2: Cementitious vs. polyurethane or sheet membranes?
Polyurethane offers high elasticity but can be more sensitive to substrate moisture and requires strict primers; sheets are excellent but detailing complexity at penetrations can increase. Cementitious systems provide a balanced, tile-ready solution for most villa wet rooms and balconies.
Q3: Can we waterproof over existing tiles during renovation Bali projects?
Only after assessing bond and slope. Often we recommend tile removal to correct falls and integrate drains properly. Where heights are constrained, a bonded leveling layer can reset the plane before waterproofing.
Q4: How are corners and joints handled?
We embed alkali-resistant mesh in the first coat at corners and use bond-breaker tape plus elastic sealant at movement and perimeter joints. Rigid grout is never used at changes in plane.
Q5: What about penetrations for villa utilities (mixers, shower heads, WC frames)?
Use preformed collars, compatible sealants, and precise sequencing with the plumber. For in-wall frames and niches, extend membrane coverage and reinforce all edges.
Q6: How long before we can flood test and tile?
Follow the manufacturer’s cure times. In Bali’s humidity, we typically allow additional time before flood testing (24–48 h test) and tiling. Rushing cures is a common cause of failure.
Q7: Are special adhesives required for large-format porcelain?
Yes—C2TES1/S2 with extended
 2144 m²11 month(s)from 104.000 USD
Narayana
 3127 m²9 month(s)from 177.000 USD
Mukunda

Want to calculate?
 3173 m²6 month(s)from 125.000 USD
TALA FOUR
 1from 198.000 USD
Private: Haridas Villas
 3180 m²7 month(s)from 142.000 USD
Vasudeva
 164 m²7 month(s)from 79.000 USD
Private: Haridas Villas, Tegallalang
 172 m²8 month(s)from 120.000 USD
Keshava
 3104 m²11 month(s)from 99.000 USD
TALA 100
164 m²7 month(s)from 79.000 USDTALA TWO
 3124 m²6 month(s)from 123.000 USD
TALA 8
 4344 m²16 month(s)from 290.000 USD
Radha
Start With Real Numbers, Not Guesses
Before finalizing your finishing works plan, check realistic cost ranges for your Bali villa project.
Available lands
 1430 m²5 min$ 209862Bali, Klungkung
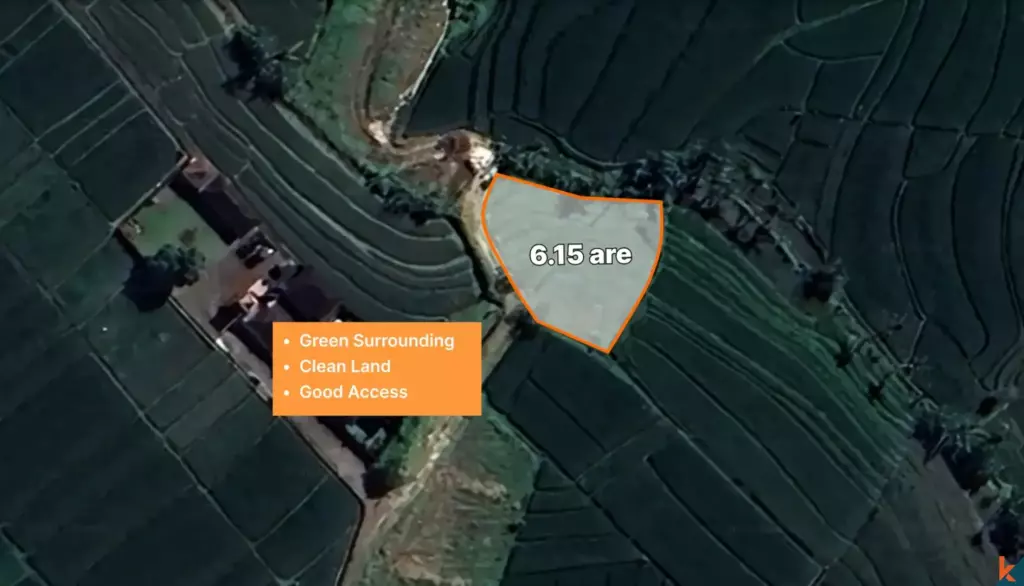 615 m²15 min$ 113608Bali, Tabanan
 3100 m²15 min$ 257697Bali, Tegallalang
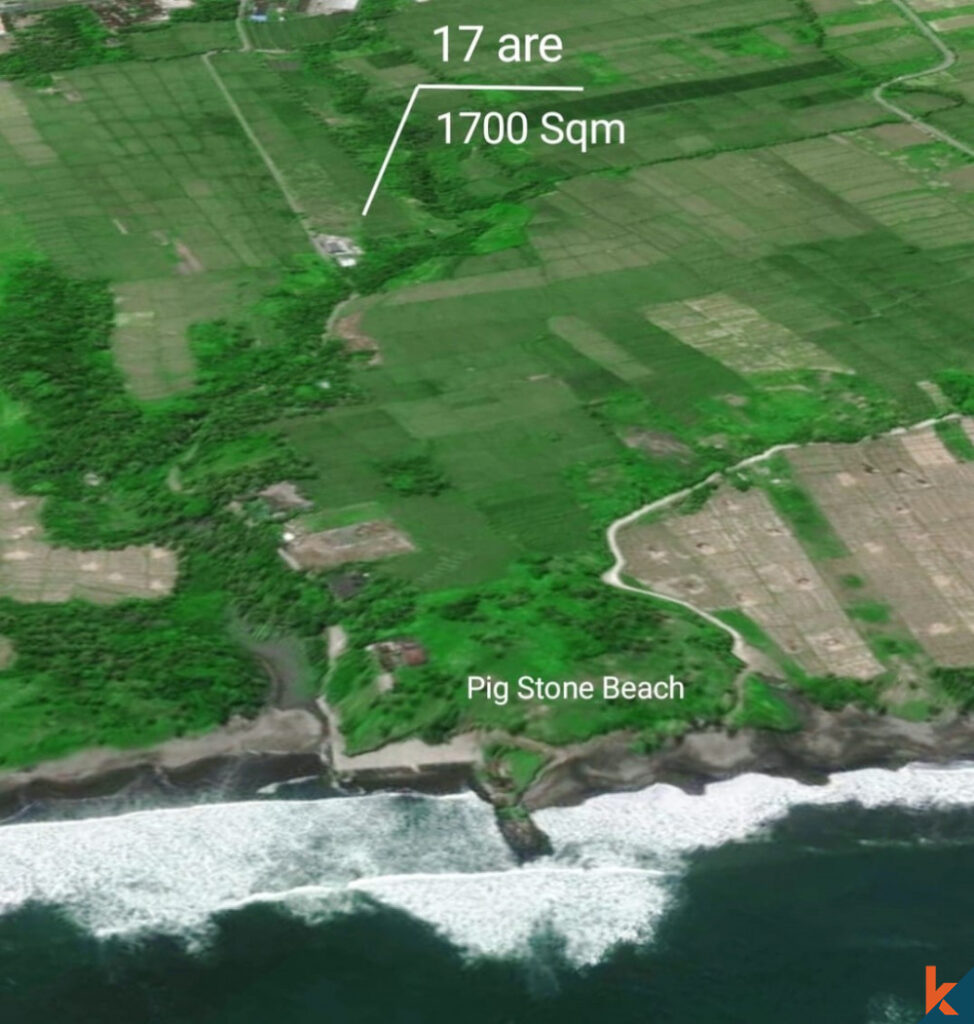 1720 m²2 min$ 241478Bali, Tabanan
 550 m²5 min$ 217629Bali, Tabanan
 700 m²15 min$ 109052Bali, Buduk
 770 m²5 min$ 163578Bali, Kedungu
 1000 m²10 min$ 280788Bali, Pecatu
 3000 m²15 min$ 738916Bali, Cepaka
 200 m²5 min$ 59113Bali, Bukit
 1375 m²10 min$ 447044Bali, Canggu
 1300 m²10 min$ 348214Bali, Tabanan
 911 m²15 min$ 248217Bali, Pererenan
 220 m²2 min$ 66565Bali, Cemagi
 600 m²10 min$ 206897Bali, Canggu
Planning a build in Bali?
Get a feasibility view, budget range and timeline from Teville.
Related guides

Marine-Grade Fixings for Bali Joinery: Corrosion Protocols
Explore marine-grade fixings and corrosion protocols for Bali coast joinery. Learn materials, maintenance tips, and best practices to extend timber durability.
10 min read
Resin-Infused Plaster Finishes: Anti-Salt Systems Bali
Expert technical guide: Resin-Infused Plaster Finishes: Anti-Salt Systems Bali
8 min read
Prefinished Timber Joinery: Silicone Seals Fixings Bali
Professional prefinished timber joinery installation in Bali with silicone seals and fixings for durable weatherproof performance and a premium finish.
10 min read